
Canvas Creation
1. Canvas Overview
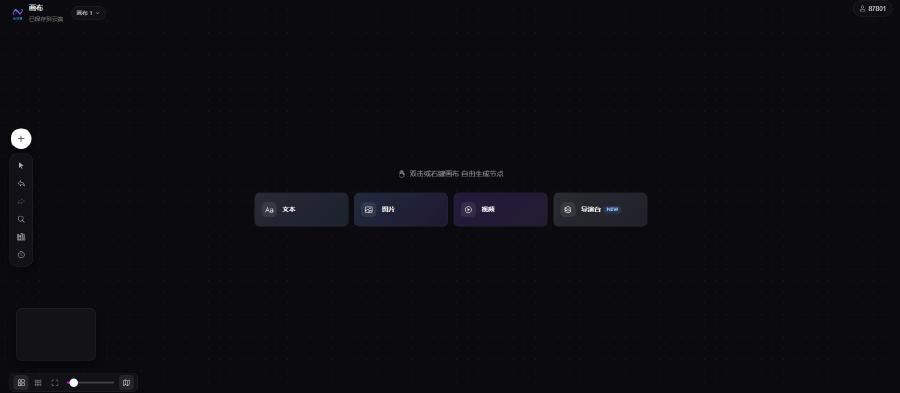
The canvas is a visual, node-based drag-and-drop workspace for building short-drama storyboard pipelines, managing image/text/video assets, and linking Preview Stage shot tasks. It supports free layout, infinite expansion, and automatic cloud saving. New canvases can be organized in folders for multi-episode projects.
Trigger actions in two ways:
- The white + button on the left
- Double-click empty canvas space
2. Top-Left + Add Node Menu
Click the circular white plus on the left to open the add panel, split into Add Node and Add Resource.
2.1 Functional Nodes
Text Node
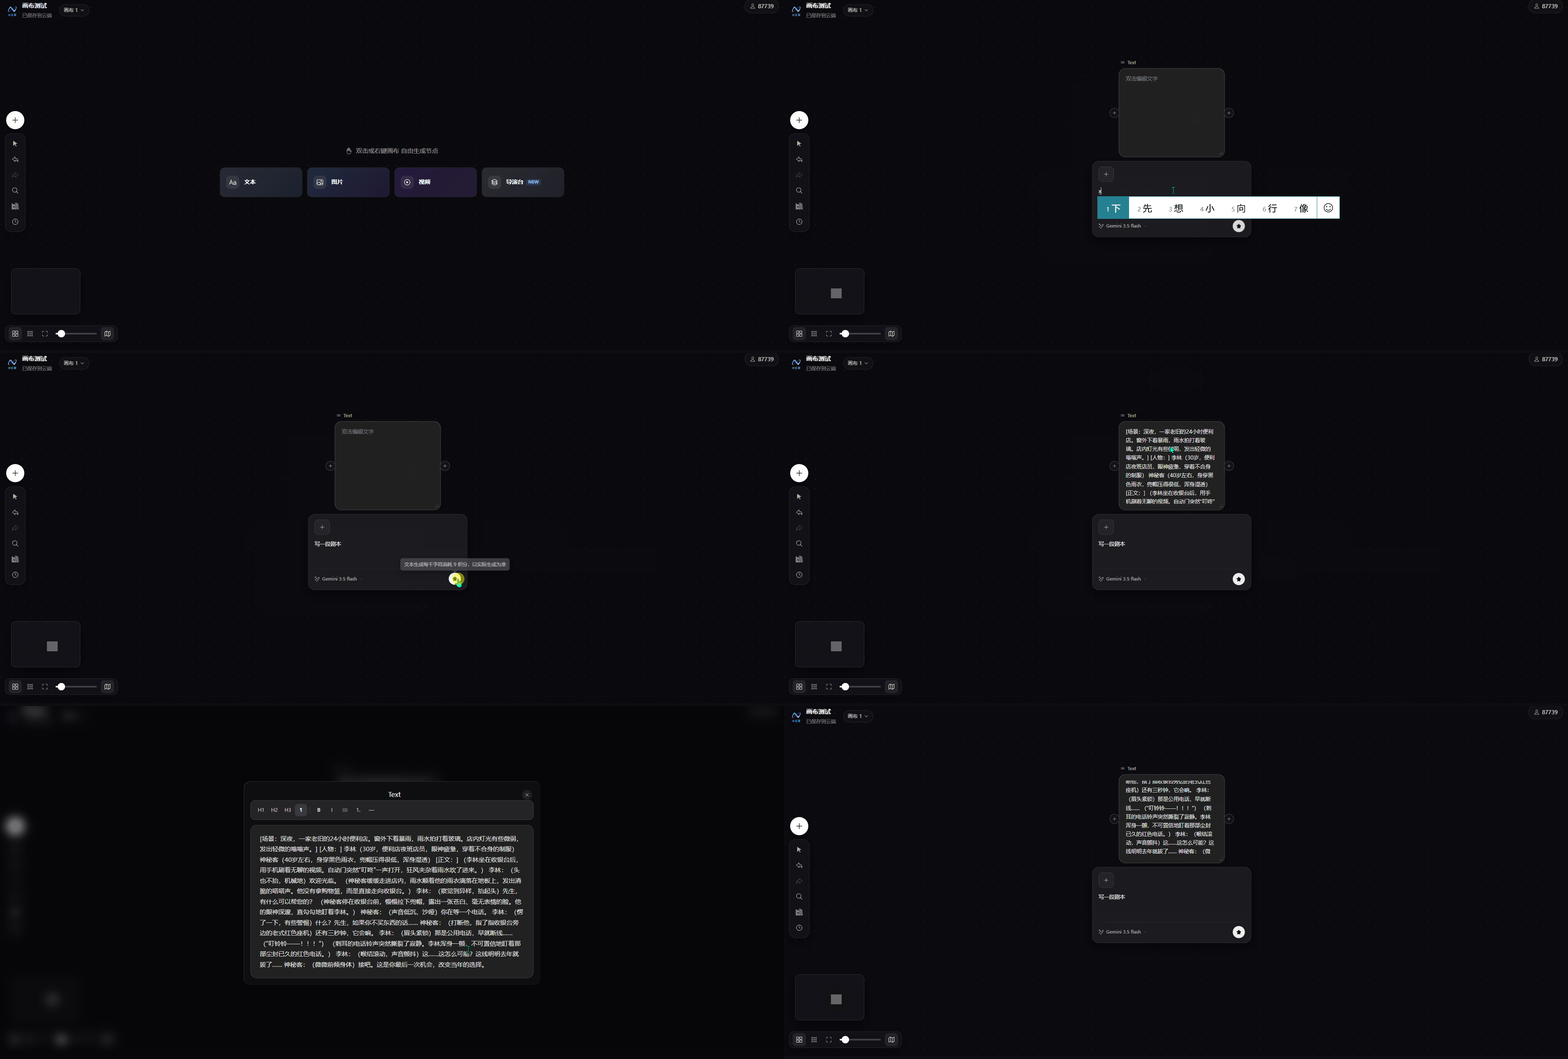
Use for script fragments, single-shot dialogue, narration/subtitles, shooting notes, image prompts, and shot requirements. Drag freely to position.
Generated text can be edited and downloaded.
Image Node
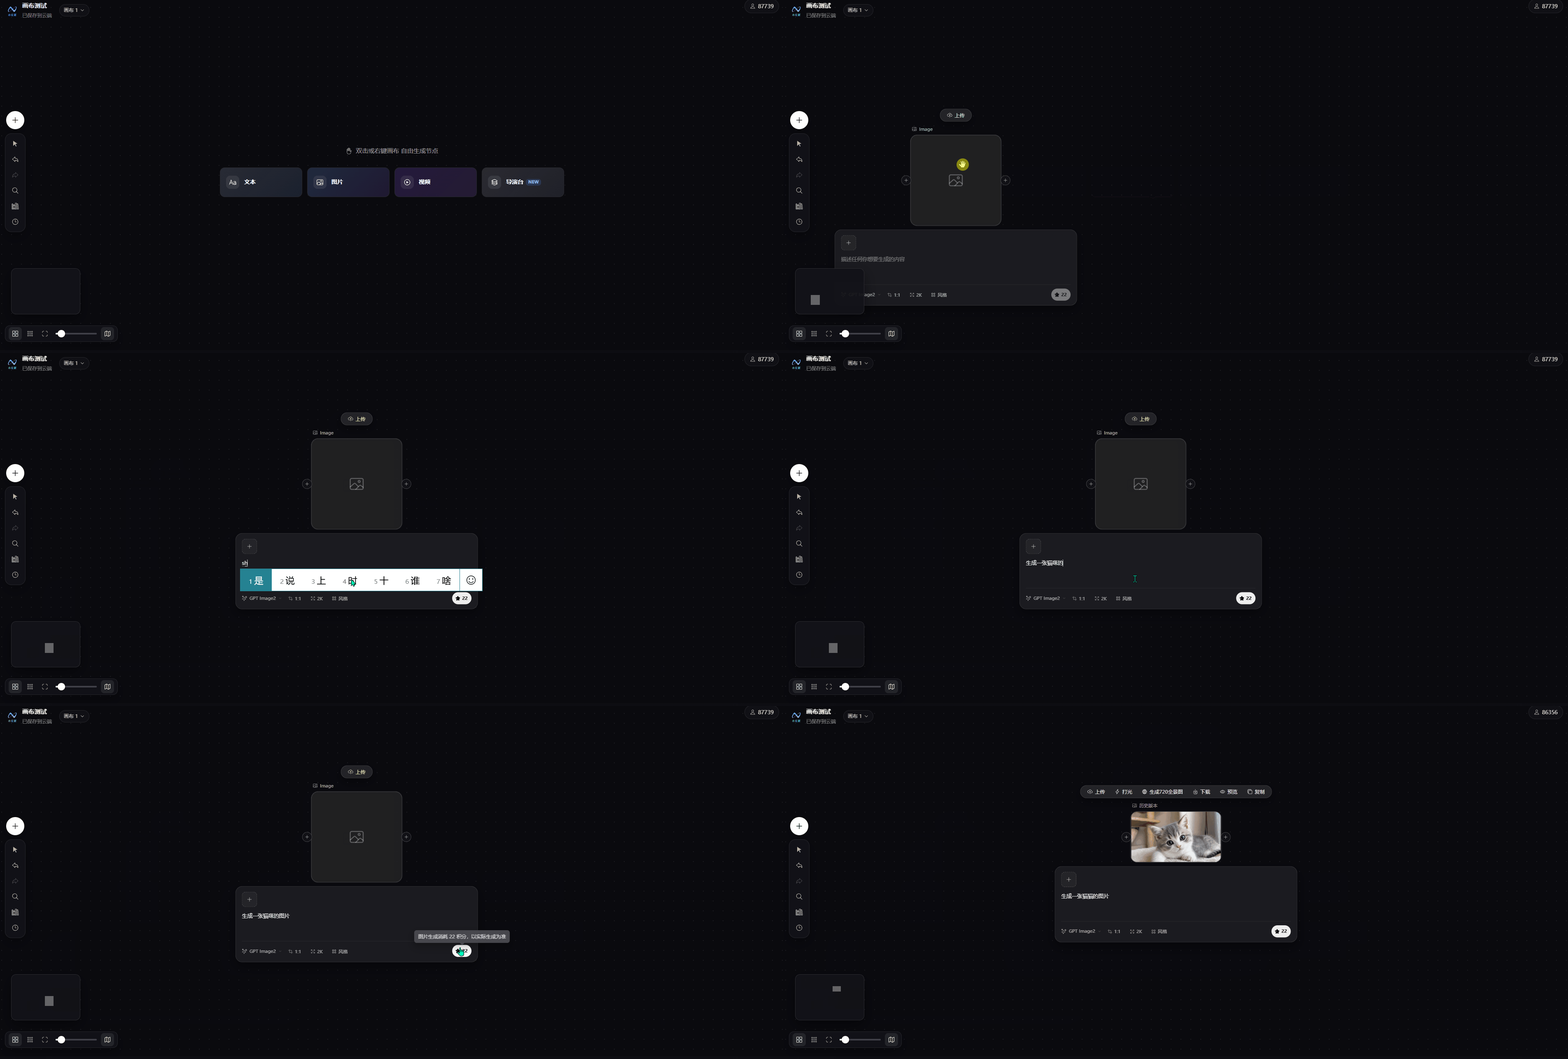
- Upload local reference images, character sheets, scene mood boards, and more
- Generate images with AI
- Download / preview / duplicate images
- Auto-generate 720° panoramic views from images
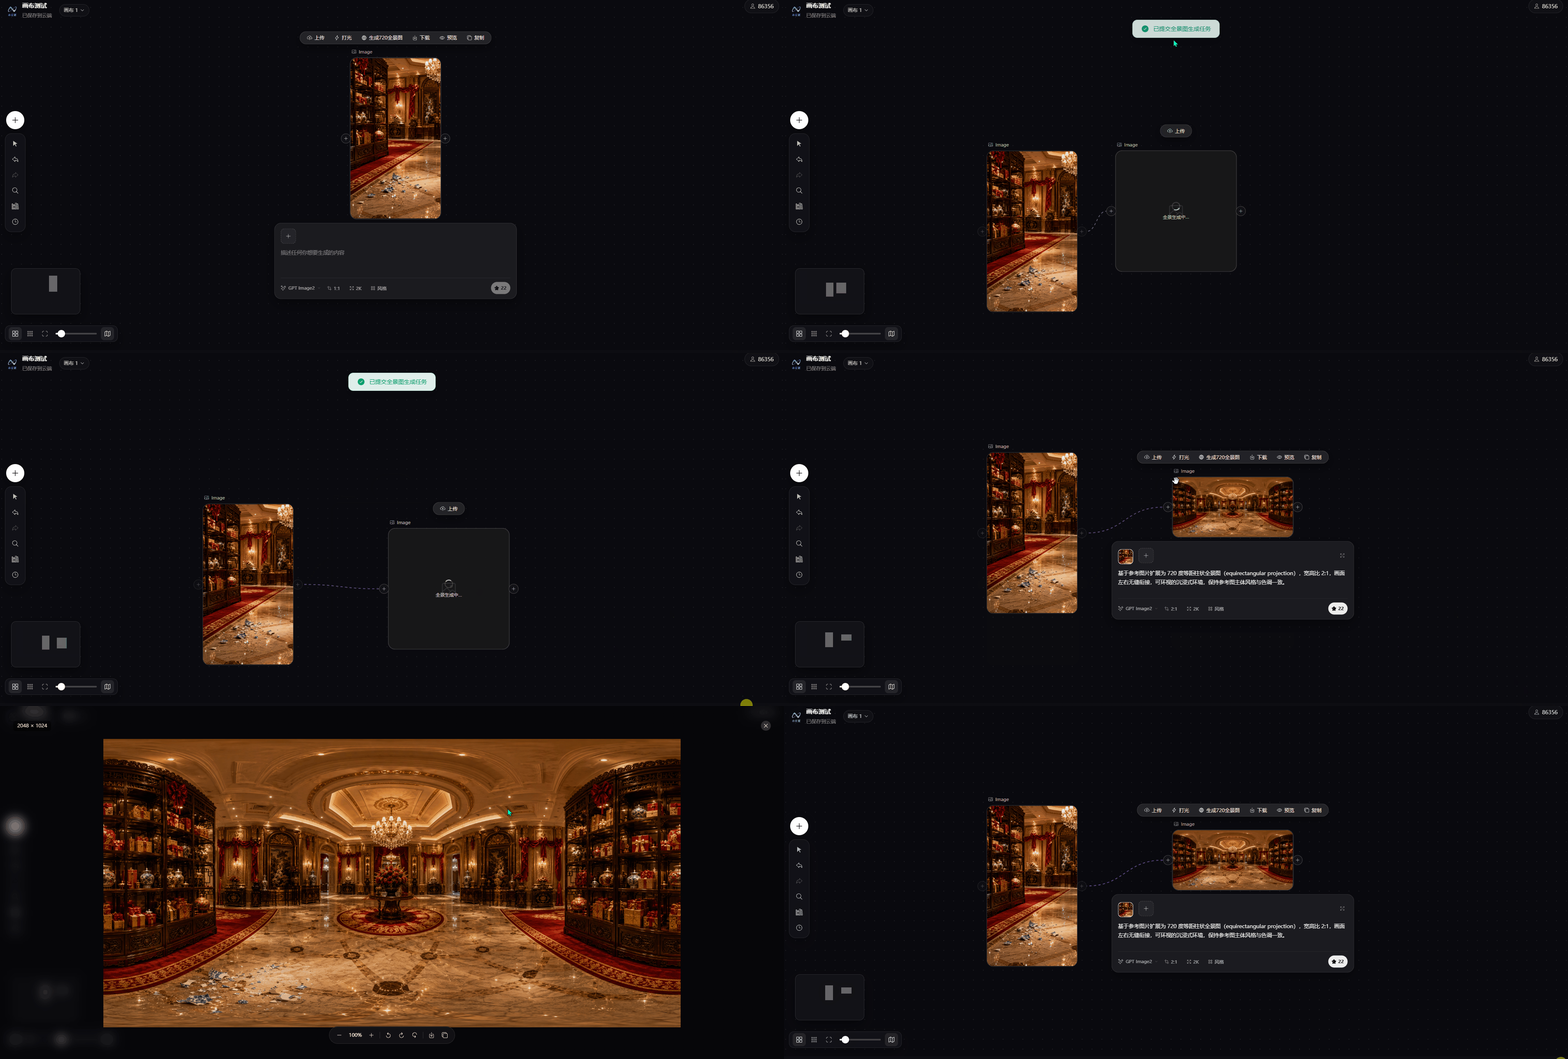
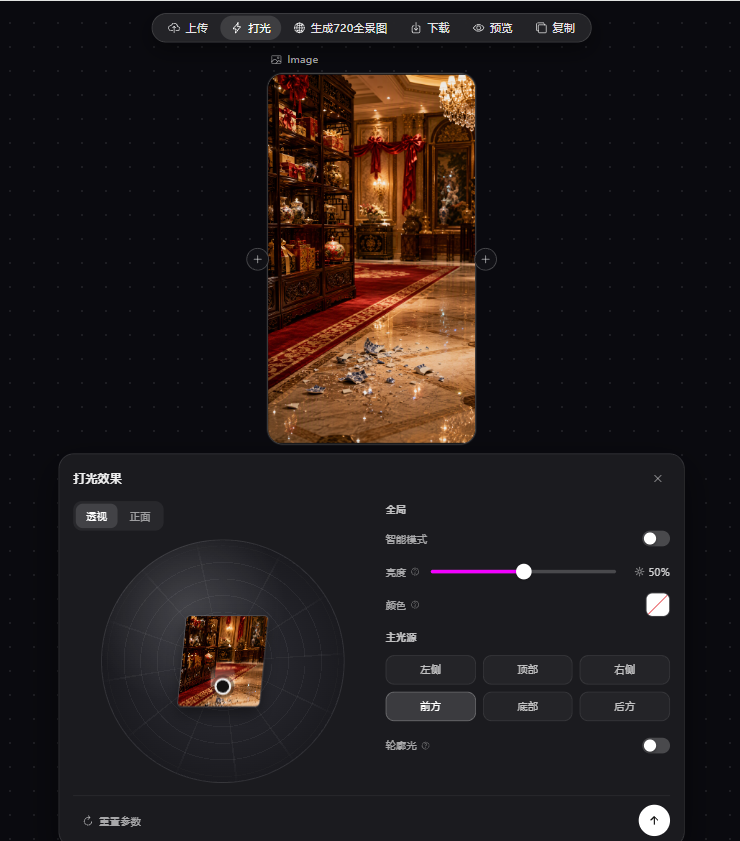
Supports lighting-effect generation for images:
Video Node
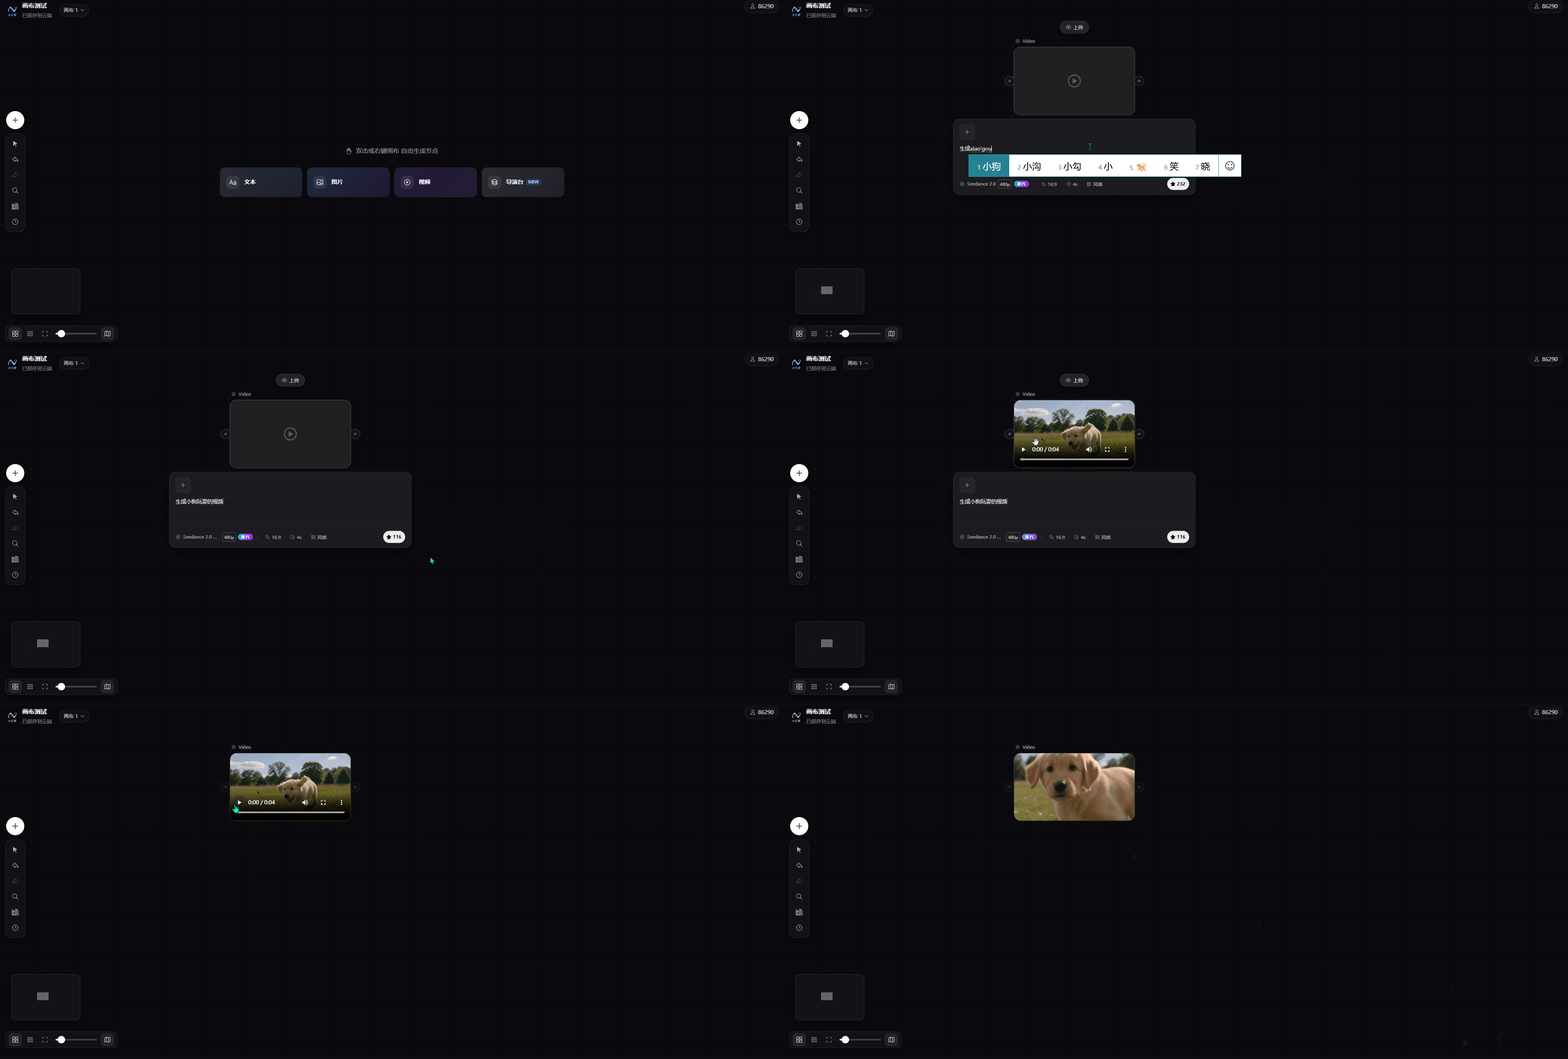
- Upload local video assets
- Generate videos with AI (text-to-video / reference-image-to-video)
- Download / preview / duplicate videos
Preview Stage
Place scenes, characters, and camera positions in 3D, adjust character poses, calibrate camera parameters, and capture/export storyboard reference frames for precise shot previsualization. See Preview Stage for details.
2.2 Add Resource — Upload
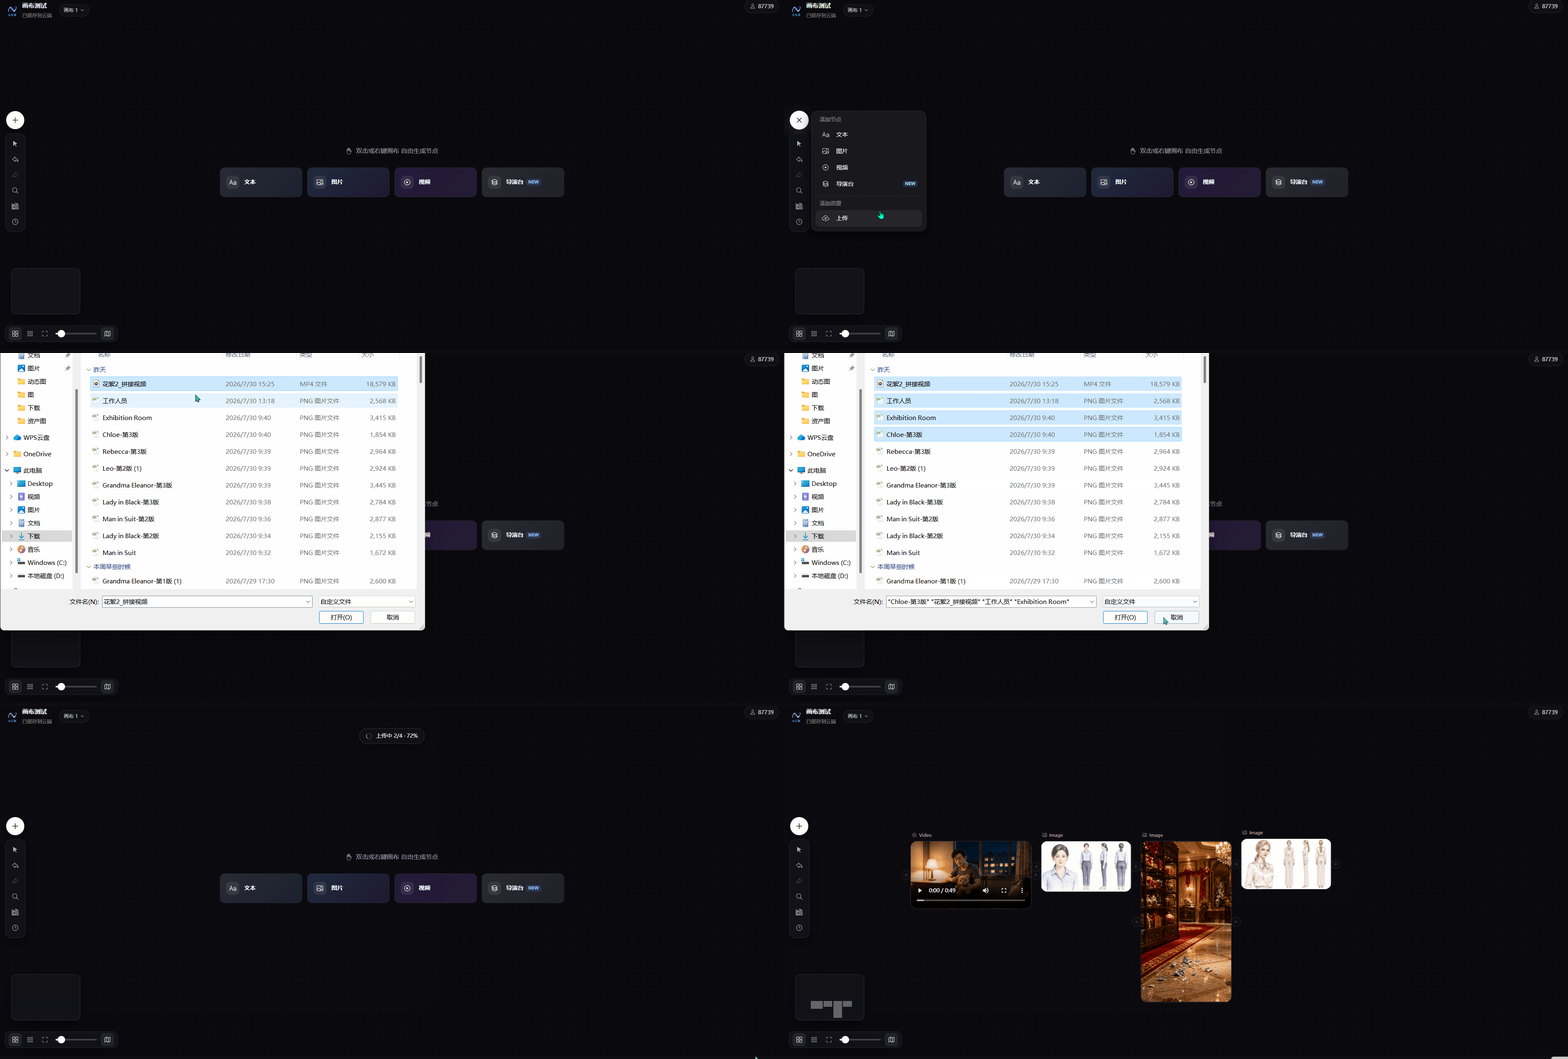
- Upload images and short videos from your computer (drag-and-drop supported)
- Batch upload multiple assets
- Show upload progress
- Auto-create corresponding image / video nodes on the canvas for drag-and-drop use
3. Left Vertical Toolbar
1. Arrow Icon — Selection Tools
Click to expand two sub-tools:
- Move tool (V): Default tool. Click to select a single node, marquee-select multiple nodes, drag to reposition, and drag corners to resize. Best for everyday editing.
- Hand tool (H): When content exceeds the viewport, hold and drag to pan the entire canvas without constantly zooming.
2. Undo
Step back after accidental deletes, misplaced drags, or wrong edits.
3. Redo
Restore content after undo.
4. Fit to Screen
Auto-zoom so all nodes fit the current viewport—quickly review overall layout.
5. Asset Library
Collects all image, video, and Preview Stage nodes on the current canvas. Use the top search box to find nodes quickly. When the canvas is empty, you'll see "No nodes on canvas yet"—useful for managing large storyboard node sets.
6. Generation History
Split into Image History and Video History, storing all AI-generated images and videos on the platform.
Important: generation history is kept for 30 days only and is auto-cleared after that. Download assets promptly. You can also re-add items from history back onto the canvas.
4. Bottom Status Bar
- Leftmost layout button: Switch between grid layout and free-scatter layout
- Canvas thumbnail grid: Quick overview of the full canvas; click to jump to a region
- Crop frame: Box-select an area for detailed local editing
- White slider: Manually zoom in/out for fine-tuning Preview Stage or image nodes
- Rightmost book icon: Switch between multiple canvases (Canvas 1, Canvas 2, …)